• CNC lathe tips for burr-free threads
CNC Lathe Threading: 3 Pro Tips for Smooth, Burr-Free Threads
CNC Lathe Threading doesn’t have to be rough, sharp, or full of burrs. Below are three practical tips that make threads feel smooth as jewelry: picking the right threading insert, choosing the best programming method, and finishing with a fast, reliable deburr.

What makes good CNC Lathe Threading?
Good threading on a CNC lathe produces a burr-free profile with accurate pitch, form, and PD (pitch diameter), consistent flank finish (≤ Ra 1.6–3.2 μm for most work), and safe chamfers/lead-ins that assemble smoothly without galling.
For standards-based geometry behind many lathe threads, see the ISO metric screw thread overview.
CNC Lathe Threading tips: 3 big things every machinist needs to know
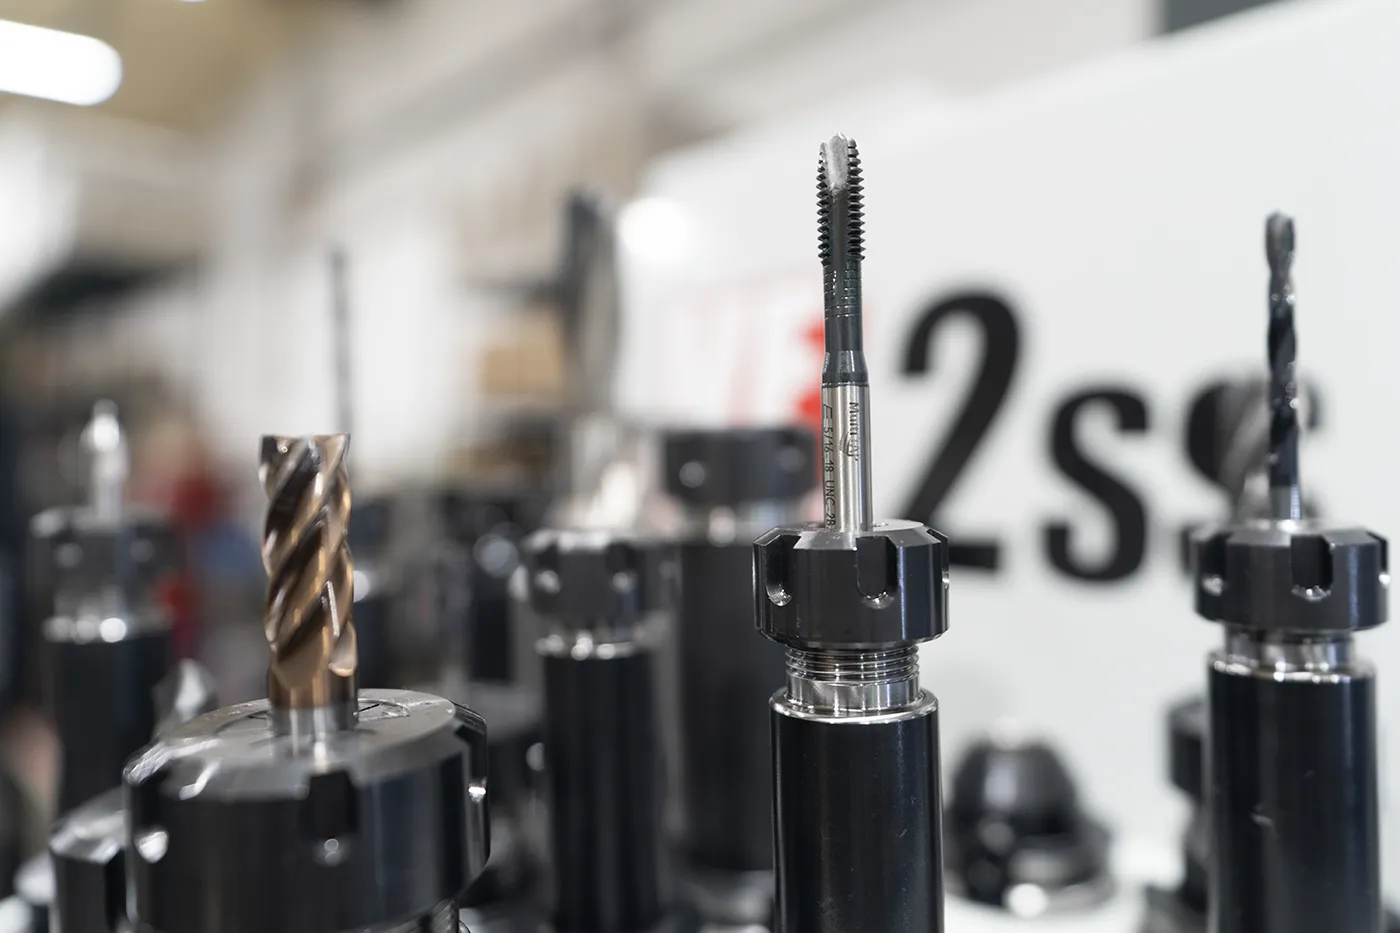
1) Pick the right threading insert
The insert determines flank finish, crest quality, and whether the thread chips or tears. Choose by material group, profile, and nose prep:
- Profile: Full-profile inserts (UN, ISO metric, NPT, etc.) cut crest radii and root correctly—best finish and PD repeatability. Partial-profile inserts (e.g., 60° V) are flexible across pitches but leave crests to stock spec; use only when part print demands.
- Material/coating: Aluminum & copper: polished, uncoated or DLC (super sharp). Stainless/steel: TiN/TiCN/TiAlN or AlTiN with honed edge for wear and heat resistance. Superalloys: tougher substrate, positive rake, small hone to avoid edge chipping.
- Edge prep: For gummy materials, a tiny hone (0.02–0.04 mm) prevents built-up edge. For free-cutting aluminum, keep it razor-sharp.
- Lead-in/Chamfer: Always face and chamfer to the major diameter before threading to prevent raised lips that feel sharp.
2) Programming & programming method
For most parts, infeed strategy is the secret. Use flank infeed (29–30° for 60° threads) to spread load over one flank and reduce chatter. On control codes:
- G76 / cycle-based threading: Safest for consistency. Use decreasing depth per pass, spring passes (1–2), and correct pull-out to avoid a notch at the end.
- G32 / single-pass threading: Maximum control for tough materials or odd pitches; pair with a macro for depth ramping and spring passes.
- Speeds & feeds: Start 60–120 SFM for steel, 200–500 SFM for aluminum; feed equals pitch. Reduce SFM near final passes to improve crest shine and reduce tearing.
- DOC per pass: Begin at ~0.1–0.2× pitch (radial), taper to 0.02–0.04 mm for finish passes.
- Coolant: Flood for steel/stainless; MQL or air blast for aluminum to prevent BUE and to keep the groove clean.
For more lathe threading strategy, check out Sandvik Coromant’s thread turning application tips and Haas’ official G76 threading cycle reference.
(Example: M10 x 1.5 ISO metric, G76 on Fanuc-style)
G97 S350 M03
G00 X10.0 Z2.0
G76 P020060 Q20 R0.02
G76 X8.350 Z-15.0 P850 Q120 F1.5
(2 spring passes recommended)
3) Deburring that preserves form
Never “wipe out” your PD with aggressive deburring. Use one of these approaches:
- In-process crest skim: After final pass, run a spring pass at reduced SFM with a 0.02–0.03 mm radial shift to kiss off feather burrs.
- Thread whiz/triangle scraper: A light hand scrape along the first turn removes raised edges without changing PD.
- Media or brush: Nylon abrasive brush or fine media tumble; mask critical PD if tolerance is tight.
- Break edges up front: Add a 30–45° chamfer at entry/exit. It’s faster than fixing sharp lips later.
CNC Lathe Threading step-by-step: from setup to inspection

- Verify print: profile, class/fit, PD, material, chamfers, and relief.
- Face, turn to major/minor Ø and add a clean 30–45° chamfer.
- Install the correct full-profile insert for the pitch & material.
- Set tool height on spindle center; align tool square to Z.
- Program flank infeed (29–30°), decreasing DOC, and 1–2 spring passes.
- Start at conservative SFM; reduce speed for finish passes.
- Use air/flood to clear chips; keep groove clean each pass.
- Deburr minimally (crest skim/brush) and verify with wires or PD gage.
CNC Lathe Threading insert geometry & coating comparison
| Option | Best for | Pros | Watch-outs |
|---|---|---|---|
| Full-profile, TiAlN-coated, small hone | Steel, stainless | Crest formed, durable edge, great finish | Too much hone can tear in gummy 304 |
| Full-profile, polished uncoated | Aluminum, brass | Razor sharp, mirror flanks | Edge life shorter; avoid heavy DOC |
| Partial-profile, TiN | Multiple pitches / job-shop | Flexible inventory | Crest not formed; needs tight major Ø control |
Common mistakes & fast fixes
- Sharp, cutty feel: No chamfer or partial-profile insert on spec that expects formed crest → add chamfer and use full-profile.
- Chatter on finish passes: Infeed at 0° (radial) or too much SFM → switch to 29–30° flank infeed and slow down 20–30% for the last two passes.
- Burrs at start/exit: Pull-out too late or none → use cycle pull-out and increase relief groove length.
- PD out of spec: Measuring on burrs or after aggressive deburr → use wires or ring gage after a light crest skim.
- Tool life too short: Dry on stainless or big DOC → add flood, reduce DOC, use tougher grade.
Mini case study: from scratchy to silky
A shop cutting 3/4-16 UNF in 303 stainless had complaints that fasteners felt sharp and seized on assembly. We switched from a partial-profile insert to a full-profile TiAlN with a 0.03 mm hone, changed infeed to 29°, reduced SFM from 120 to 80 for the last two passes, and added a 0.4 mm crest skim. Result: PD moved to the mid-band, complaints dropped to zero, and tool life improved by 35%.
CNC Lathe Threading FAQ
What’s the best infeed angle for 60° threads?
Use 29–30° flank infeed. It reduces chatter and gives a cleaner finish by loading one flank.
How many spring passes should I run?
Usually one is enough; two if the material is gummy or your finish pass is very light.
Do I need full-profile inserts?
If the print expects formed crests or you want repeatable PD and a premium feel—yes. Use partial-profile only when flexibility outweighs finish.
How do I deburr without changing PD?
Use a light crest skim or soft brush; avoid heavy chamfering after threading. Measure PD after deburring to confirm.
Need production-grade CNC Lathe Threading?
We cut clean, consistent threads across aluminum, stainless, and alloy steels—with inspection to match.
Get a fast quote Call (469) 588-3788
Attach prints or CAD and include material, quantity, and target date for the quickest turnaround.